How to Upload Contact Lists to roomvu Email Marketing Tool
Learn how to optimize your contact lists for roomvu's email marketing tool

Uploading contact lists to your roomvu account will enable you to automatically send valuable content to your audience and nurture them down your marketing funnel. After all, not all leads are warm. Sometimes, your contact lists may be incompatible with roomvu’s email marketing tool. This article will take you through the steps to optimize and successfully upload a contact list to roomvu. Before you start editing your contact list, make a copy of your lists so that you keep your original list for other purposes.
CSV Contact Lists
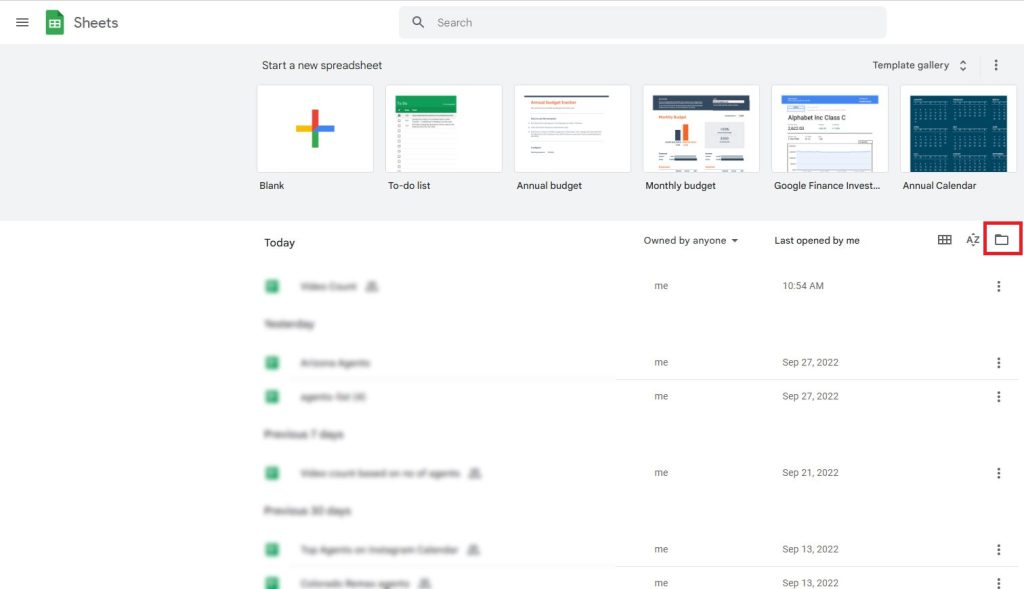
Your contact lists need to be in CSV form before you can upload them to roomvu. And it would be best if you opened them in Google Sheets first to be able to edit them. Go to Google Sheets and click on the upload icon.
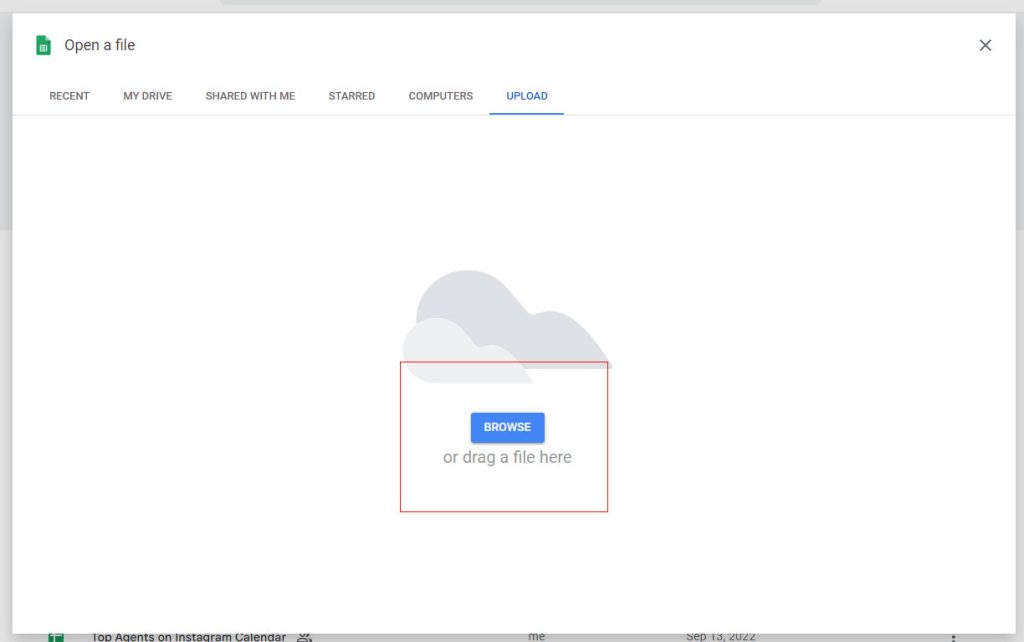
On the next window, click on “Browse.”
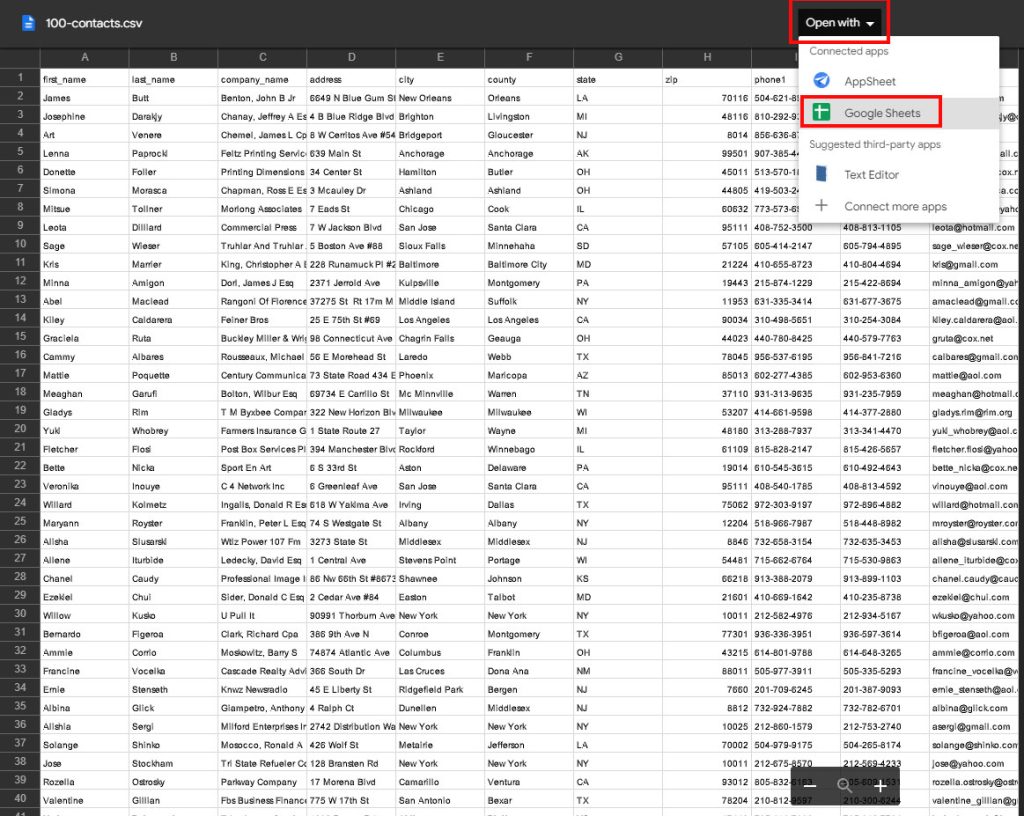
This will open your CSV file. Now click “Open with” and then “Google Sheet.”
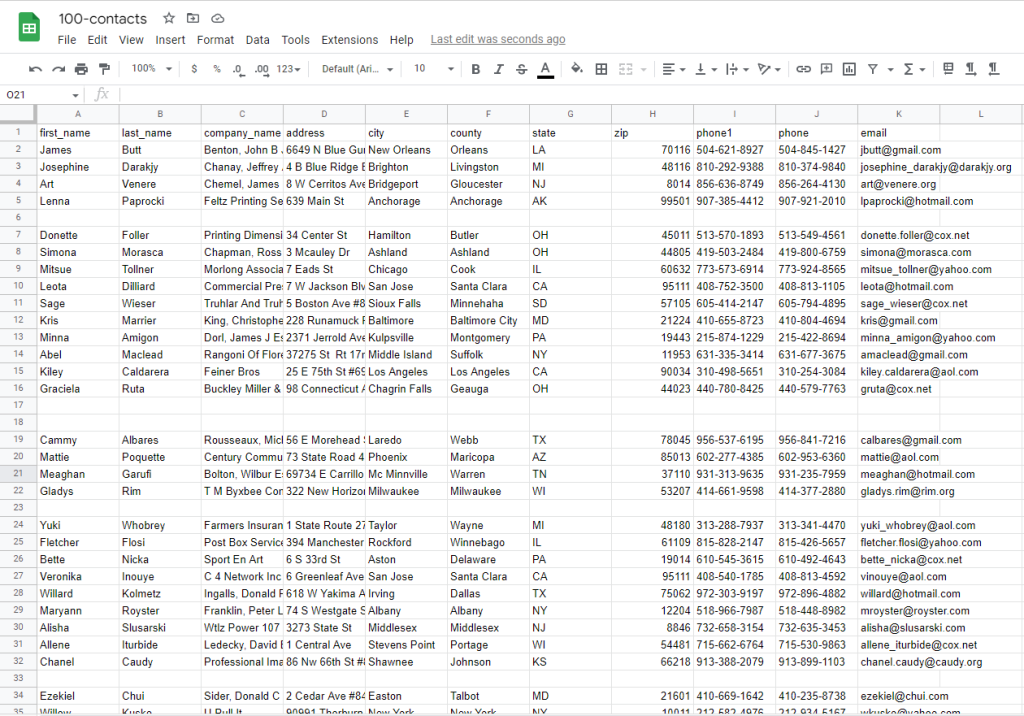
Now, our sample CSV contact list is open on Google Sheets. However, as you can see, there are many empty rows and redundant info we do not need. Let’s see how you can fix it.
Roomvu Contact List Format
To be able to use roomvu’s email marketing tool for your contacts, you need to make sure your list uses roomvu’s format. Here is what a compatible contact list looks like:

Your CSV contact list should have only THREE columns and no more than 1000 entries (rows). The order of the columns should be exactly as shown above. First, First Name, then Last Name, and finally Email Address.
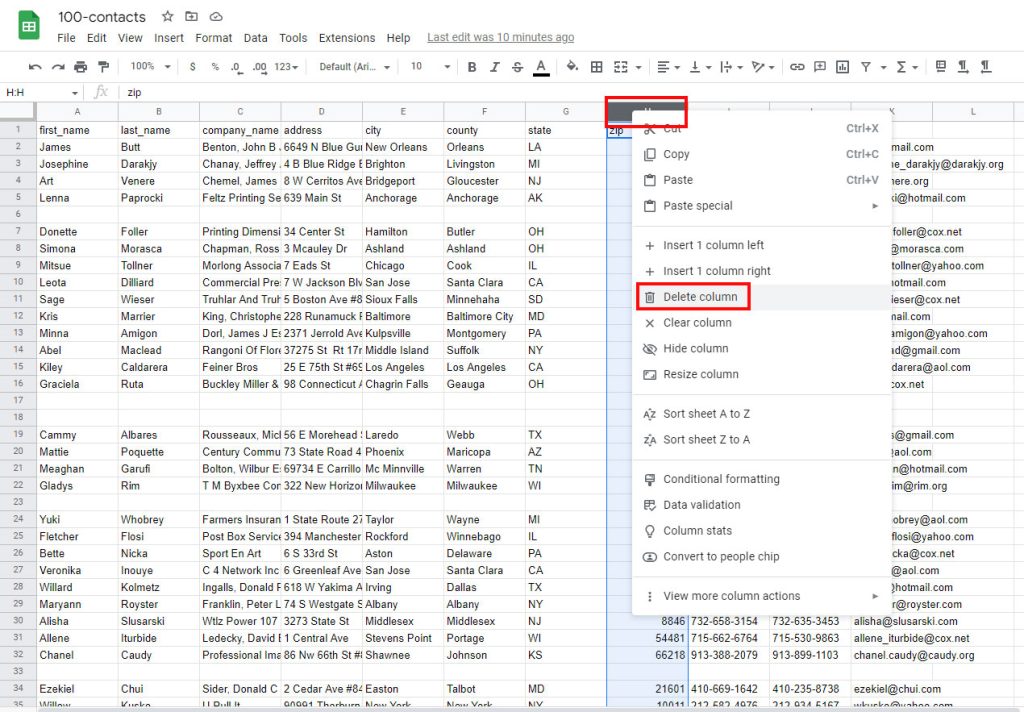
To remove redundant columns from your contacts list, right-click on each column’s header and click “Delete Column.” You can do this for all redundant columns.
Now, our contact list looks like this. However, there are many empty rows we need to get rid of.

You can manually right-click on each empty row and click on “Delete Row.”

However, if there are many empty rows, you can right-click on one of the column headers and click on “Sort A-Z”. This will sort your lists alphabetically but also move all empty rows to the end of the list, where you can quickly delete them.
Right-click on the first row that describes the data (if any) and delete it. We will re-insert this row again later.

Now right-click on the first column and click “Sort sheet A to Z.” This will sort your contacts alphabetically.

Now, all the empty rows are moved to the end of the list.

Now right-click on the first-row number and click “Insert one row above“. This will insert an empty row on top of your list where you can add data labels.

Your contact list data labels should look like this.

Add them to the list on the first row you just added.

Now your list is ready—it’s time to save the changes. Click on “File, then “Download,” and then “Comma Separated Values.” This will download the file you can use on your roomvu account.


One Comment