roomvu WordPress marketing plugin is a tool that allows roomvu agents to connect their content calendar in the “agent’s dashboard” to their own WordPress websites. In order to connect your calendar to your own WordPress website you need to do a few steps to get things ready. This article will explain the necessary steps needed to integrate roomvu into your WordPress website. To use roomvu’s automation on your WordPress website you need:
- An up-and-running WordPress website.
- An active premium or higher agent account in roomvu (to get your API key).
- Installing roomvu’s marketing plugin.
Install roomvu’s WordPress plugin
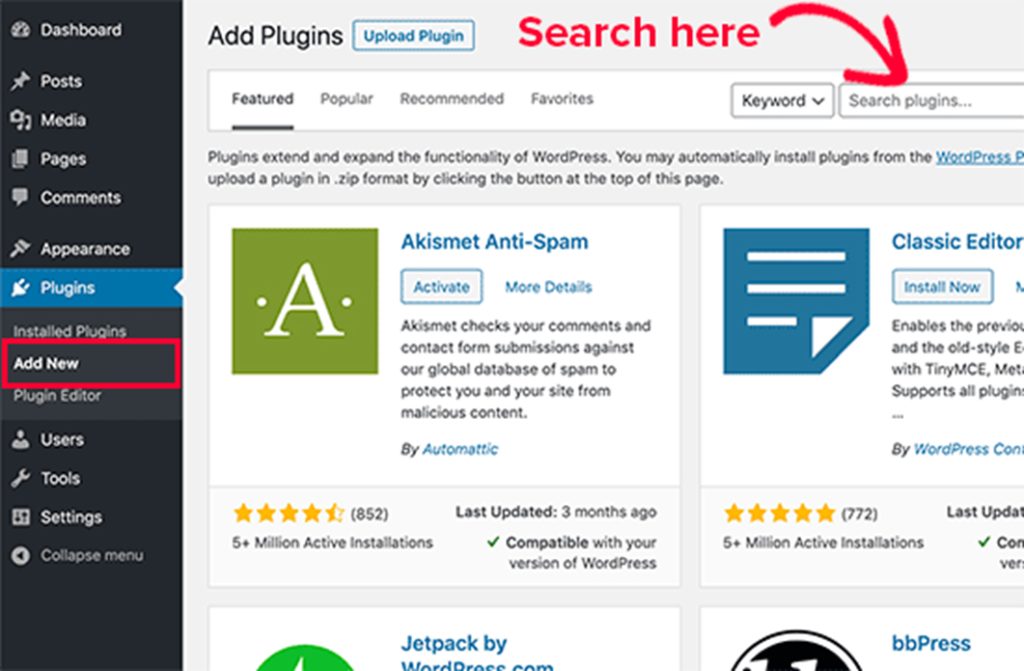
1. Open your WordPress dashboard. On the left sidebar find “Plugins” then click on “Add New”.

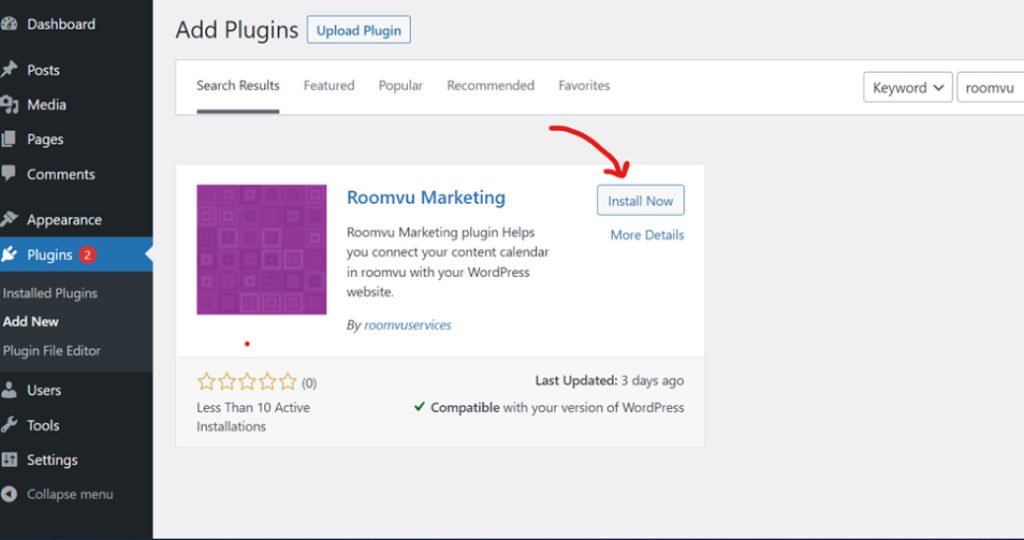
2. On the search field type in “roomvu” and then hit enter on your keyboard”.

3. When you find the roomvu marketing plugin, click on the “install now” Button, It takes a while to install the plugin, When the installation is finished the “Install now” button turns to “Activate”. Click the “Activate” Button to activate the plugin.

4. When the plugin is activated you can find a new menu inside the posts menu in the sidebar. (Posts » roomvu Marketing)

5. In this step you need an “API key” to connect your WordPress plugin to your roomvu content calendar. to find your “API key” follow these steps:
- Login to your agent’s dashboard.
- Head into Settings >> Account & Security Page

- Tap the “Copy Your API key” button.

6. Go back to the roomvu marketing plugin page on your WordPress website and enter your “email” and “API Key” here then press the save button. The email must be the one you use to log in to your roomvu account.

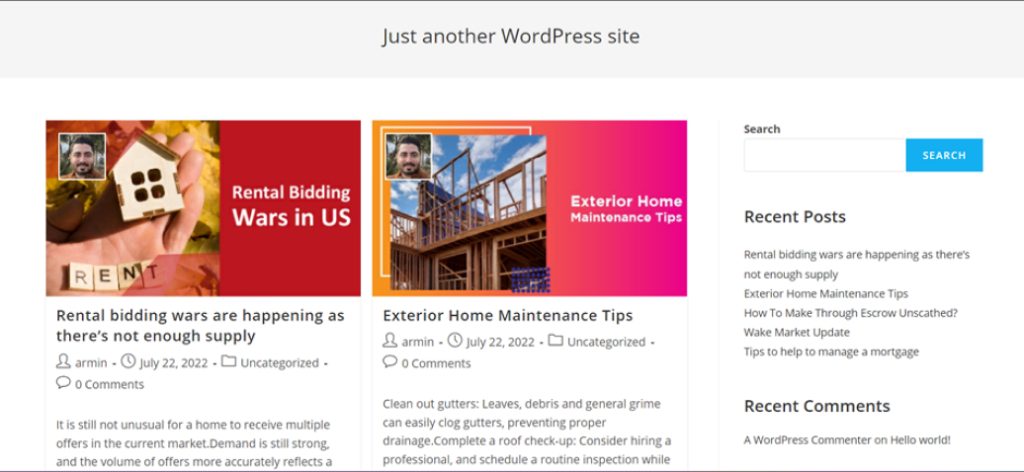
7. Your roomvu content calendar is now connected to your WordPress website and the content will be published on your website automatically. Please note that the content on your calendar on your roomvu account will be posted on your WordPress website.


